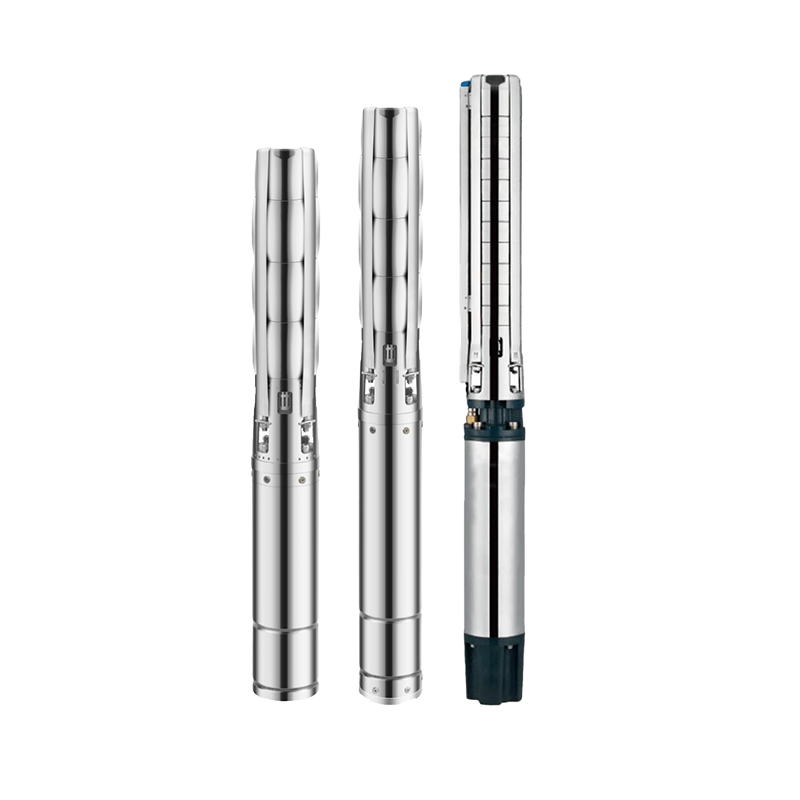
Deep Well Pump Installation Guide: Key Precautions for a Smooth Setup
Installing a deep well pump requires careful planning and execution to ensure optimal performance and longevity. Any mistakes during installation can lead to poor water flow, excessive wear, or even pump failure. In this guide, we’ll walk you through the essential precautions to take before, during, and after installation.
1. Pre-Installation Preparations
Before installing your AC deep well pump, it’s crucial to verify that all components match your well specifications and that the setup is compliant with electrical and plumbing requirements.
Check Well Dimensions & Pump Compatibility
✅ Measure the well diameter to ensure the pump fits properly.
✅ Verify the well depth and select a pump with an appropriate head and flow rate.
✅ Ensure that the pump’s power rating matches the available electrical supply.
�� Tip: A well casing that’s too narrow can cause installation difficulties, while an improperly sized pump may lead to poor water output or dry running.
Verify Electrical & Piping Connections
�� Check that your electrical wiring supports the pump’s voltage and amperage requirements.
�� Ensure the pipe size is compatible with the pump’s inlet and outlet connections.
�� Plan for a check valve installation to prevent backflow and maintain system efficiency.
�� Warning: Incorrect voltage or weak wiring can cause pump overheating, motor damage, or unstable operation.
2. Key Considerations During Installation
Proper positioning and alignment of the deep well pump are essential for efficient water delivery and long-term reliability.
Ensure Vertical Placement of the Pump
✅ Always install the pump in a vertical position to maintain balanced water pressure and stable motor operation.
✅ Avoid tilting the pump, as this can cause uneven wear, vibration issues, or airlock problems.
�� Tip: If using a submersible deep well pump, carefully lower it into the well using a strong safety cable instead of suspending it by its electrical wires.
Properly Arrange the Inlet & Outlet Piping
�� Avoid excessive pipe length or sharp bends in the piping system to prevent flow restrictions.
�� Use high-quality, corrosion-resistant pipes to extend durability.
�� Ensure all pipe connections are securely tightened to prevent leaks.
�� Reminder: A poorly arranged pipe system can lead to water hammer effects, causing unnecessary pressure fluctuations and damaging the pump over time.
3. Post-Installation Testing & Inspection
Once the deep well pump is installed, thorough testing and final checks will help ensure stable and efficient performance.
Check for Smooth Motor Operation
✅ Turn on the pump and observe if the motor runs smoothly without excessive noise or vibration.
✅ If abnormal sounds occur, turn off the pump immediately and inspect for loose parts or improper alignment.
�� Tip: Deep well pumps should operate quietly and efficiently—any rattling or grinding sounds may indicate blockages or motor misalignment.
Inspect for Leaks & Secure Connections
�� Check all pipe joints, electrical connections, and sealing points for leaks.
�� Ensure the check valve is functioning properly to prevent backflow.
�� Verify that the pressure settings are adjusted according to your water system’s requirements.
�� Reminder: Even small leaks can lead to pressure loss, increased energy consumption, and potential pump failure over time.
Final Thoughts: A Well-Installed Pump Ensures Reliable Water Supply
By following these installation precautions, you can:
✔️ Ensure stable water pressure and efficient performance.
✔️ Prevent frequent breakdowns and reduce maintenance costs.
✔️ Extend the lifespan of your AC deep well pump.
For a high-quality and durable deep well pump, explore our latest models designed for long-lasting efficiency and reliable water supply.
�� Install your pump the right way and enjoy a trouble-free water system!