How to Set Up Your Smart Controller: A Step-by-Step Guide to Initial System Learning and Pressure Adjustment
Why Is System Learning Important?
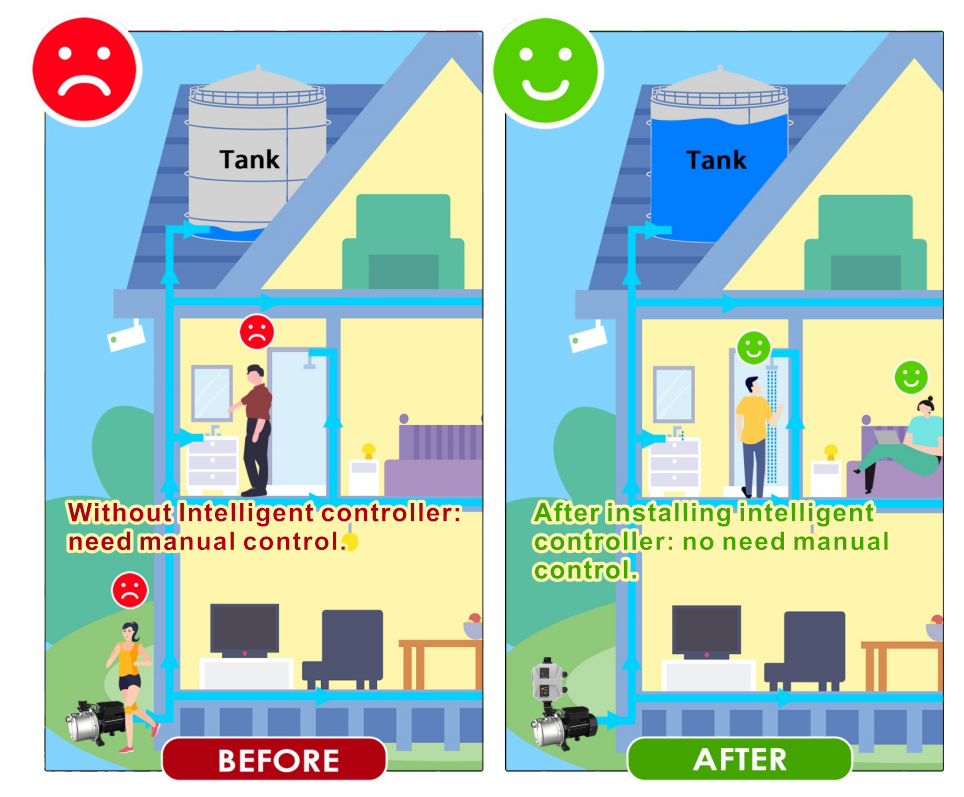
The smart controller’s adaptive learning technology enables it to automatically identify your pipeline’s pressure and adjust the pump’s starting point accordingly. This ensures your pump operates efficiently and avoids unnecessary wear and tear caused by inaccurate pressure settings.
Step-by-Step Guide to Initial System Learning
- Ensure Proper Installation
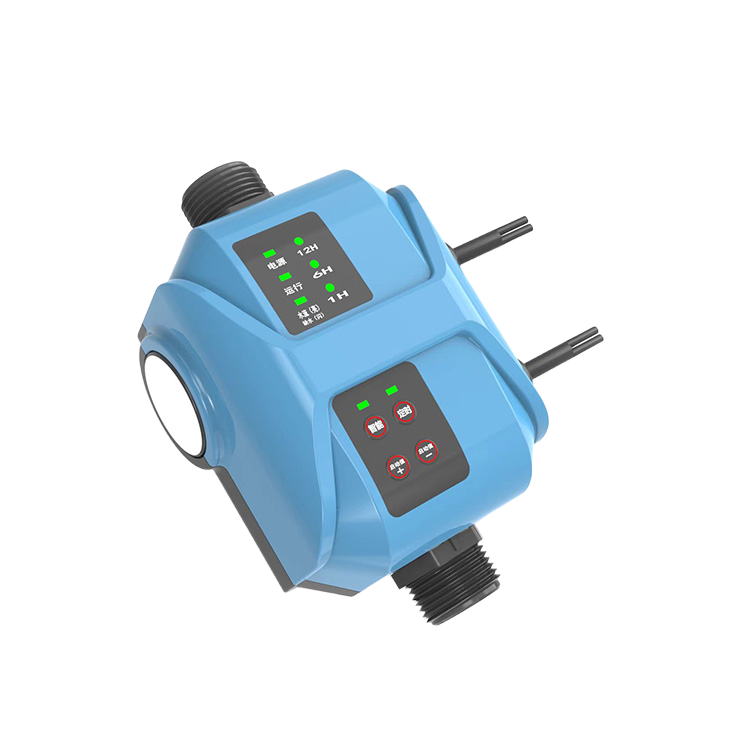
Before starting, verify that the controller is correctly installed between your water pump and the pipeline. Don’t worry about orientation—our smart controller’s electronic pressure sensor works flawlessly whether installed vertically or horizontally. - Open the Valve
Open a connected faucet or valve to allow water to flow through the system. This is a critical step for the controller to accurately detect pressure changes. - Power On the Controller
Plug in the controller and turn it on. The indicators for “Power On” and “Pump On” will light up, signaling the controller is now active. - Complete the First Learning Cycle
- Once powered, the pump will start working, and water will flow through the pipeline.
- Close the valve. The pump will stop working, completing the first learning cycle.
- Complete the Second Learning Cycle
- After a few seconds, the pump will automatically restart to recheck the pipeline pressure.
- Close the valve again. The pump will stop, signaling the controller has completed the second learning cycle and finalized the starting pressure setting.
Adjusting the Starting Pressure (If Needed)
In most cases, the system’s adaptive technology eliminates the need for manual adjustments. However, if your working conditions change significantly or a fault occurs:
- Use the “UP+” button to increase the starting pressure by 0.1-0.2 bar per press.
- Use the “DOWN-” button to decrease the starting pressure in the same increments.
- Press the “Auto/Reset” button to re-initiate the system learning process if needed.
Common Mistakes to Avoid
- Skipping the valve step: The controller relies on proper water flow during learning. Always open and close the valve as instructed.
- Ignoring pipeline issues: Before starting the learning process, ensure there are no leaks or blockages in the pipeline.
- Incorrect wiring: Double-check that the controller is wired correctly according to the manual to avoid malfunctions.
Benefits of Automatic Pressure Learning
- Time-Saving: No complex manual calibrations required.
- Optimized Performance: The pump starts and stops precisely when needed, reducing energy waste.
- Extended Pump Lifespan: Proper pressure settings prevent unnecessary strain on the pump.
With its innovative plug-and-play design and intelligent pressure recognition, your smart controller is ready to deliver a seamless water pump experience. Follow these simple steps to get started, and enjoy the convenience and reliability of automated water management.
For more tips or troubleshooting advice, feel free to check out our comprehensive user manual or contact our support team.